OFFICIAL MEDIA SHOWCASE
ARCHIVE SOURCE: High-tier raid boss breakdown: thunder-fire phase shifting, safe-zone positioning, and horn severing tactics.
Source: YouTube (Official HD Stream)
1.88M Views
162K Likes
Maldrake the Calamity Dragon: Dual Element Raid Guide
High-tier raid boss breakdown: thunder-fire phase shifting, safe-zone positioning, and horn severing tactics.
#灾龙攻略#高阶团本#雷火机制#破角指南
30-SECOND TACTICAL SUMMARY (TL;DR)
01
Maldrake cycles between Tempest and Blaze phases: rapid pounces vs area denial.
02
Team wipe supermove requires Lyra Stormlink grounding to carve out a central safe zone.
03
Severing the dual horns permanently disables the 360° flame breath sweep.
Key Moments & Frame Captures
Fast reference timestamps & frames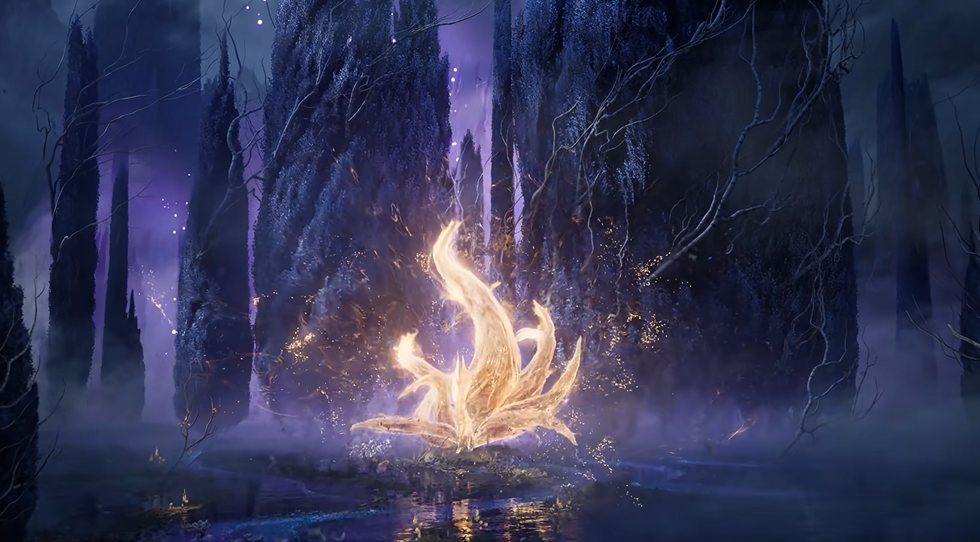
01:50
Phase Transition Flash
Scales shift from violet to crimson; lingering lava pools ignite the floor.

07:00
Storm Cataclysm Safe-Zone
Clustering in the runic center negates 90% of outer arena lightning strikes.
Frame-by-Frame Mechanics & Counter Guide
| Phase | Move | Mechanic Hitbox | Counter Strategy |
|---|---|---|---|
| 天罚蓄力 | Cataclysm Convergence | 5-second channel leading to lethal arena-wide surge | Focus heavy stagger damage directly on horns to interrupt channel |